We Gotsa Winna
First off, if any of my lovely readers are from the Dallas/Ft. Worth Area, I hope you are ok and please give me a shout out so I know! I really care! I have an aunt that lives in Arlington and friend who lives in Dallas. Yesterday they were bombarded with terrible storms, in case you didn’t know. I listened to it all afternoon because we have branches located there and was helping to keep an eye on them, but it allowed me to check up on my aunt & friend also.
I wish you could all be winners. Unfortunately I don’t have the time to make each and every one of you one of these right now :(. I know, I suck right, but A&P calls most of my attention away these days.
So anyway, I thought I’d do a tutorial on how you can make your own. It’s super simple! No sewing, just cutting (but not your finger) and hot glue.
{Step 1}
I found it easiest to cut my fabric into squares. I bought fat quarters at Wal-mart for 99cents a piece. You don’t need that much by far. And cutting it into strips is how I sliced off the tip of my finger.
{Step 2}
Cut two 1 1/2″ circles out of felt. I got my felt in squares in the craft area at Wal-mart (sorry that’s where I was) for 23 cents a square. One was more than enough to do my necklace, Tbug’s headband, this headband and still have some left over.
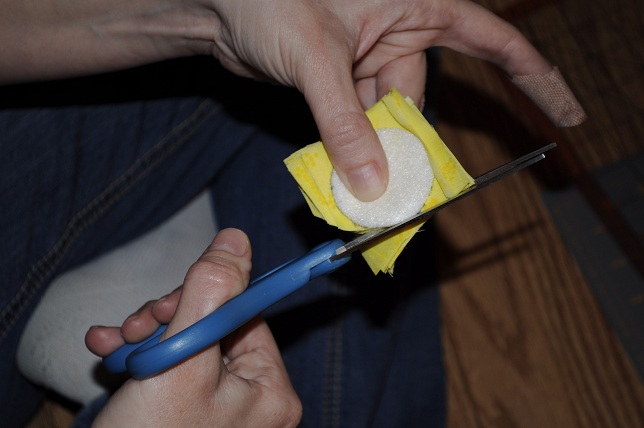
{Step 3}
Once you have your felt circle, use that as a guide. Stack up a few fabric squares and cut around the felt circle. You want your fabric circles to be about 1 1/2″ as well. It isn’t rocket science though so they don’t have to be perfect.
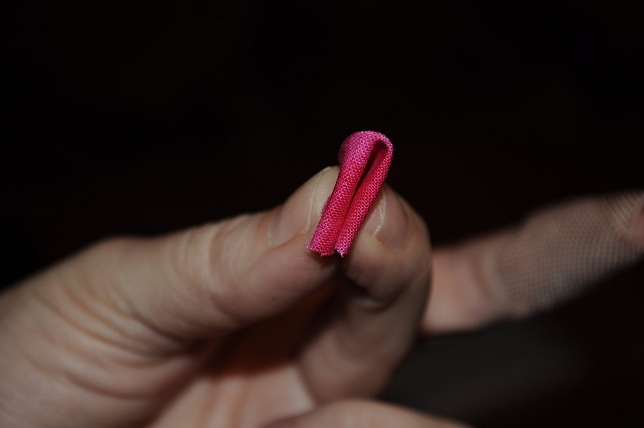
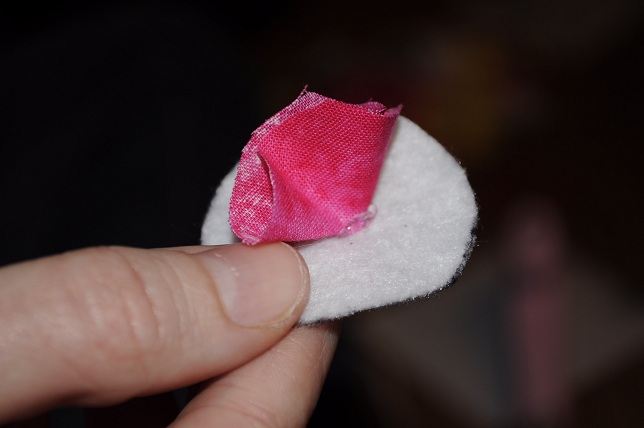
{Step 4}
Once you have your circle, scrunch it up. I folded my circle in half and then brought it into 3rds.
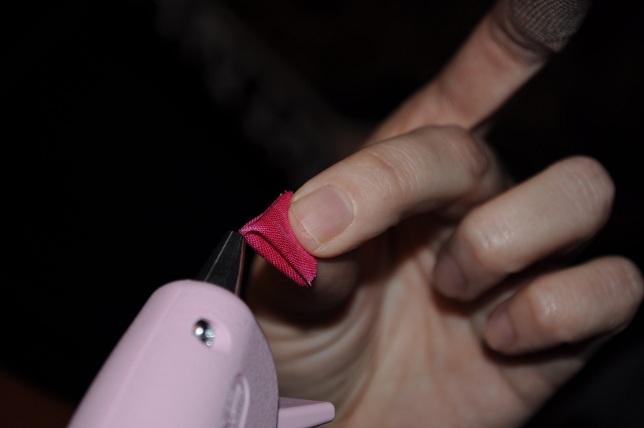
{Step 5}
Place a dab of hot glue on the point. btw, don’t touch yourself with the hot glue either… It’s hot! Just sayin!
{Step 6}
Place it down in the middle of your felt circle. I almost typed square and you’d have been thinking huh?
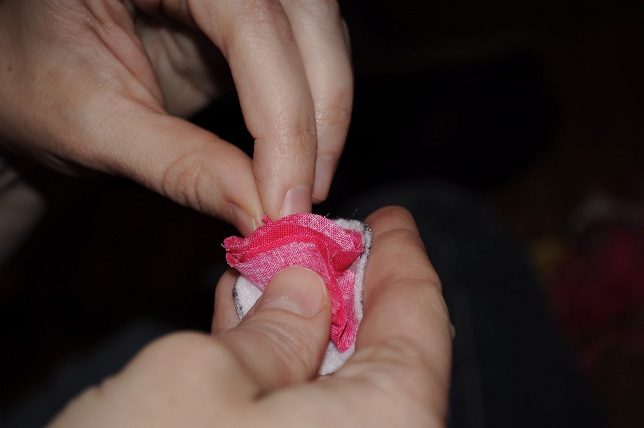
{Step 7}
Repeat Step 4 & 5 and then stick it around the middle circle. Just keep scrunching them in on top of each other. I would say you’ll have between 15 and 30 circles stuck/glued on this felt circle by the time it’s all said and done. I lost count on how many went on my felt, but I know each one I did had a different number. Go figure 🙂

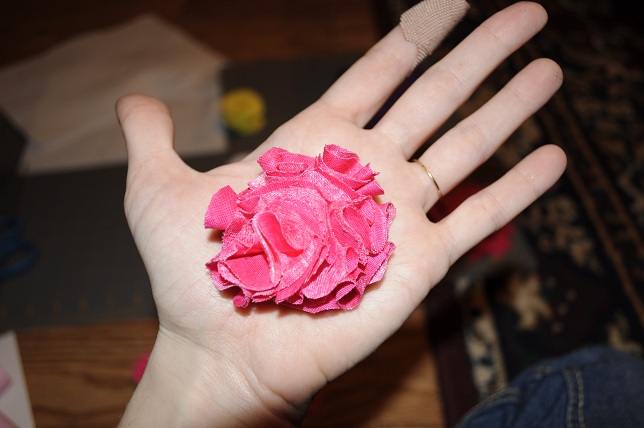
{Step 8}
It should look like this when you are finished.
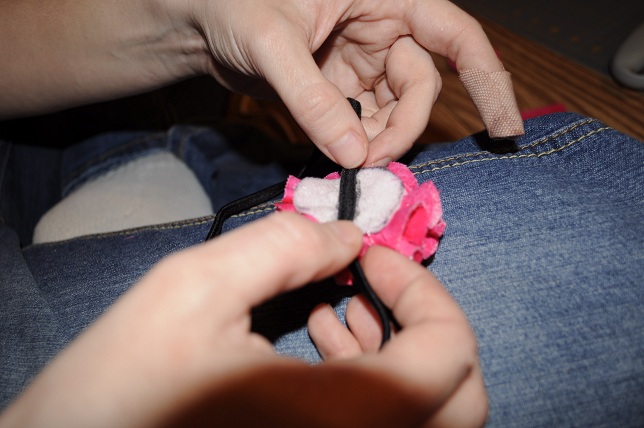
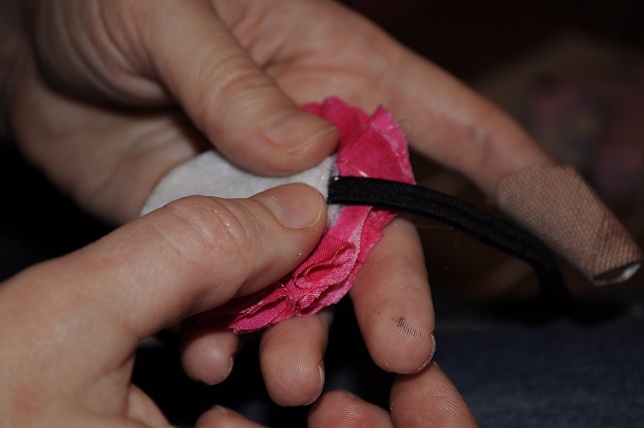
{Step 9}
So for the headband portion, you know those elastic headbands you buy at Wal-mart (again that’s where I was) or Target, etc? I got mine at WM, 4 or 6 (I think 6) for like $2 and change. So turn your Pom Pom over and run a bead of hot glue across the diameter of it (straight line from one side to the other). Then place your headband in that line of glue and hold it for about 30seconds to a minute or so.
{Step 10}
Then cover the felt & headband (only portion on the felt circle) in hot glue and place the second felt square you cut over them to glue it together.

{Step 11}
Hold it down. I think I set this one aside for oh 5 or 10 minutes just to be sure it held and was cooled/dried.
 |
| I also drew on my hand with a permanent Marker drawing my 1 1/2″ circles. |
{Step 12}
Viola, a pom pom (or flower whatever) headband!

Maybe next time I won’t slice my finger tip off cutting material 🙂
And so the winner is:


Emmy, I will contact you for your information 🙂